
Introduction
Dealing with Lindon Drywall Water Damage can be a daunting task for any homeowner. Water damage not only affects the structural integrity of your home but can also lead to mold growth and other health hazards if not addressed promptly. Whether caused by a leaky roof, burst pipes, or flooding, it’s essential to know how to effectively repair drywall to prevent further issues. Here are some expert tips to guide you through the Lindon Drywall Water Damage repair process.
Assess the Damage
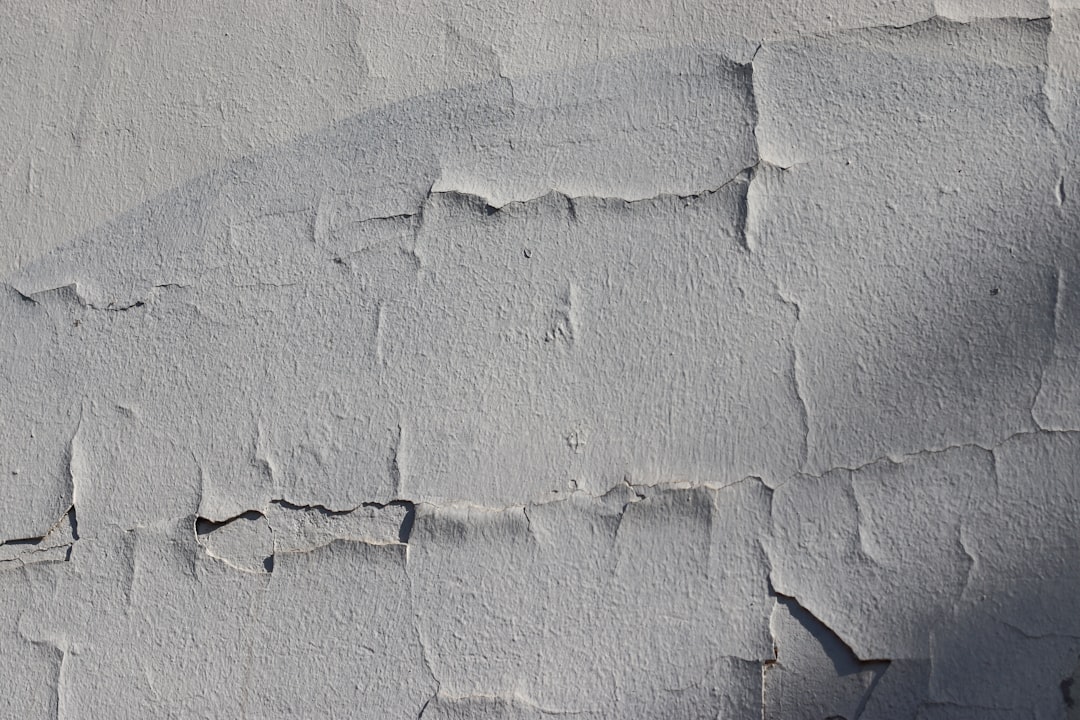
Before jumping into repairs, take time to assess the extent of the Lindon Drywall Water Damage. Look for signs of water stains, sagging, or mold growth. Determining the severity of the damage will help you decide whether you can handle the repairs yourself or if you need to call in a professional. Minor damage might be manageable on your own, but extensive damage may require expert intervention.
Gather the Right Tools and Materials
Once you’ve assessed the damage, gather the necessary tools and materials for the repair. You’ll need items like a utility knife, drywall saw, joint compound, drywall tape, and sandpaper. Having these tools on hand will make the repair process smoother and more efficient. If you’re dealing with mold, ensure you have protective gear like gloves and masks to safeguard your health.
Remove Damaged Drywall
Carefully cut out the affected areas using a utility knife or drywall saw. Be sure to extend the cut at least an inch beyond the visible damage to ensure you remove all compromised material. Removing the damaged sections is crucial in preventing mold growth and ensuring the new drywall adheres properly.
Dry the Area Thoroughly
Before installing new drywall, it’s essential to dry the area completely. Use fans and dehumidifiers to ensure all moisture is eliminated. This step is critical in preventing future Lindon Drywall Water Damage, as any remaining moisture can lead to further issues down the line, including mold growth and structural damage.
Install New Drywall
Once the area is dry, cut a new piece of drywall to fit the hole and secure it in place. Use drywall tape and joint compound to seal the seams and create a smooth finish. Allow the joint compound to dry completely before sanding it down to blend with the existing wall.
Conclusion
Repairing Lindon Drywall Water Damage requires careful assessment, the right tools, and attention to detail. By following these expert tips, you can effectively address water damage and restore your home to its original condition. Remember, if the damage is extensive or you’re unsure about the repair process, it’s always best to consult with a professional to ensure the job is done correctly.
For more information visit:
Drywall Service Pros
DrywallServicePros.com
801-800-9002
Lindon Utah
Serving the heart of Utah County, we provide Lindon homeowners with durable drywall solutions designed to withstand out local climate. From repairing stress cracks caused by soil settling to remediating water damage from winter runoff, our team understands the unique needs of Lindon properties. Quality repairs, local reliability and professional results-every time.